P3
Calvin (Deutschbein)
W9Fri: 25 Oct
Announcements
- Problem Set 5 for Monday.
- Project 3, which is PS5 is sorta part of, out today (I hope).
Today
- Writing files
- Reading files
- P5: ImageShop
File Write
- Say I want to send a picture of my cat to someone with PGL.
- I use PGL to make a text file and send the text file.
- This is impractical but the best I can do on short notice.
- The following is how W3Schools recommends writing a text file:
f = open("demofile3.txt", "w")
f.write("Woops! I have deleted the content!")
f.close()

#open and read the file after the overwriting:
f = open("demofile3.txt", "r")
print(f.read())
File Write
- Test it.
>>> f = open("demofile3.txt", "w") >>> f.write("Woops! I have deleted the content!") 34 >>> f.close() >>> >>> #open and read the file after the overwriting: >>> f = open("demofile3.txt", "r") >>> print(f.read()) Woops! I have deleted the content! >>> - The "30" is the number of letters written.
- The "Whoops" is due to the fact this will delete any pre-existing content in the file.
- Generally we want this - we write to a file, check if we like it, change the code, want to start over.
File Write
- We'll open a file. We provide a filename and an opening type - "w" is for writing.
f = open("cat.txt", "w") - Then we change all the "print" statements to 'f.write'
for row in pixels[::10]: # was 20, now 10 row_list = [pixel_to_letter(pixel) for pixel in row[::20]] s = "".join(row_list) f.write(s) - This will do one annoying: print adds a newline, write does not.
- This will write every '.' and '0' in the same row!
File Write
- Add a '\n' to the end of each row.
f = open("cat.txt", "w") - Then we change all the "print" statements to 'f.write'
for row in pixels[::20]: row_list = [pixel_to_letter(pixel) for pixel in row[::10]] s = "".join(row_list) f.write(s + '\n') # adding an "enter" - Let's look at it!
Today
- ✓ Writing files
- Reading files
- P5: ImageShop
File Read
- Add a '\n' to the end of each row.
>>> f = open("cat.txt","r") >>> f <_io.TextIOWrapper name='cat.txt' mode='r' encoding='cp1252'> >>> type(f) <class '_io.TextIOWrapper'> >>> s = f.read() >>> type(s) <class 'str'> >>> s - s will show the characters in a row, with newline/enter characters '\n'.
- print(s) will show the file.
Files
- Usually text (.txt) files.
- Next most common: common-separated values (.csv) files.
- Super common in data science.
- Always do
f = open(filename,mode) - Filename is a string with the name of the file, like "cat.txt".
- Mode is usually either "w" (write) or "r" (read)
- s will show the characters in a row, with newline/enter characters '\n'.
- print(s) will show the file.
Files
- Usually we write with f.write()
f = open(filename,"w") f.write(some_text) - We usually read with f.read()
f = open(filename,"r") some_text = f.read() - Generally files, especially text (.txt) files, are basically just a string with extra steps.
- We'll deal with files in P5.
Today
- ✓ Writing files
- ✓ Reading files
- P5: ImageShop
Choosing Wisely
- The Python package used to implement 'pgl.py' also supports a mechanism to choose files interactively, made available through the 'filechooser.py' library module.
- 'filechooser.py' exports two
functions:
- 'choose_input_file' for selecting a file
- 'choose_output_file' for selecting a folder and filename to save a file to
- Both open up a file dialog that lets you select/choose a file
- Clicking Open or Save returns the full pathname of the file
- Clicking Cancel returns an empty string
- Using it thus looks something like:
filename = choose_input_file()
s = open(filename).read()
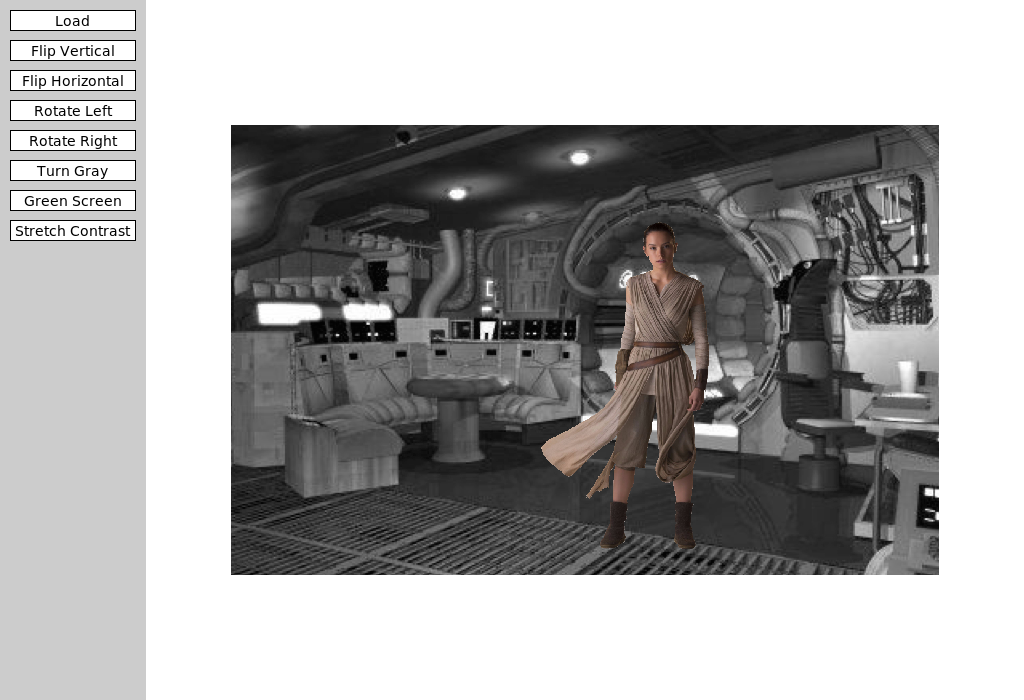
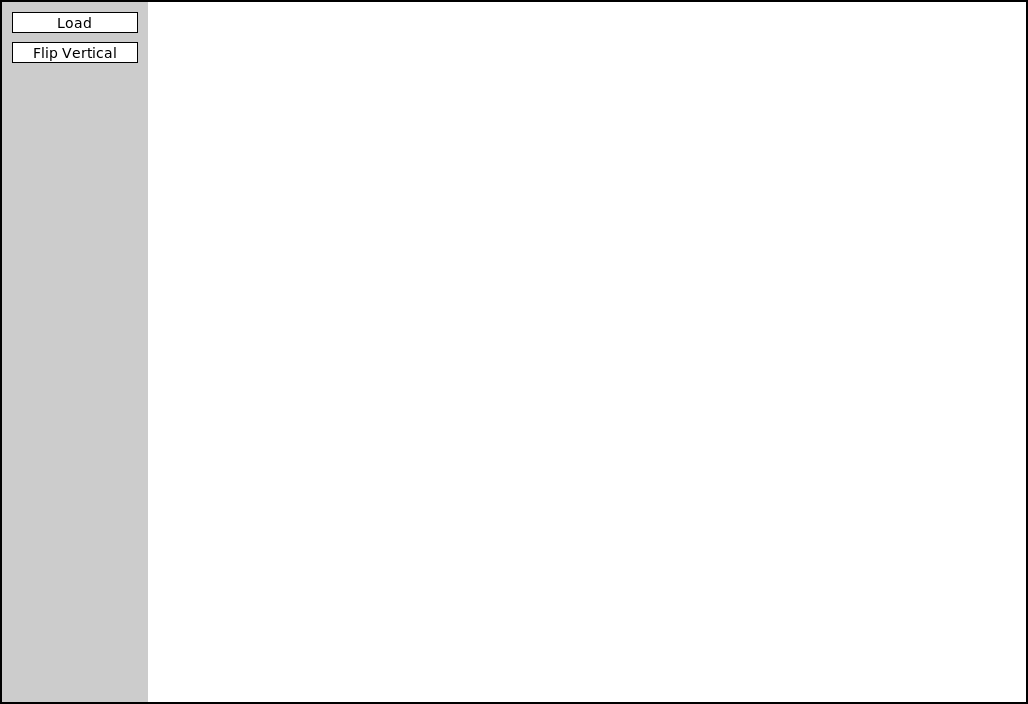
Introducing ImageShop
|
 |
Introducing ImageShop
 |
|
Big Picture
- For each milestone:
- Adding a new button
- Write code to alter an image.
- Write a function that updates the image in the GWIndow via a GImage
- You are always free to write whatever other helper functions you might like!
- ImageShop is the first project to start leveraging multi-file
layouts:
- We provide 'GrayscaleImage.py' which you should import and use.
- Write and import Milestone 5 in a different file (probably)
- I’ve seen you struggle to find individual lines of code.
GButtons
- We provide a'GButton'
- Each 'GButton' needs a label and a corresponding function.
- We provide an 'add_button' function to take care of all the tedium.
- You’ll just need to provide it a label and function name.
def add_button(label, action):
The Current Image
- 'gw.current_image' always contains the currently displayed GImage
- This is like 'gw.ball' but we provide it.
- Use 'set_image' to update 'gw.current_image'
Milestone 1
- Milestone 1 has you adding a “Flip Horizontal” button
- Add the button
- Add the action callback function
- Write a function to manipulate the pixels to flip the image horizontally
- Slightly more complicated than the example function, but not much
Milestone 2
- Here you will add buttons to rotate the image left or right (or CW or CCW if you prefer)
- Most of the difficulty comes in keeping track of of rows and columns
- Need to create a new list of lists of the correct dimensions
- Need to copy over the pixels from the original to the needed location in the new list

Milestone 3
- Here you’ll add a button to convert an image to grayscale
- Use 'grayscale.py'
Milestone 4
- Implement green screen effect!
- When clicked, use
filechooser.py functions to request another image
- This is overlay/foreground image.
- Basically, either copy from the background or the foreground image based on foreground color
- If green enough, you will copy the pixel from the background image to your pixel array
- If not green enough, you will copy the pixel from the foreground image to your pixel array
Milestone 5
- Increase contrast in images to make them easier to see.
- This is the hard one one, like Wordle colors.
- I'd grab Prob1.py from PS5 and start working in there, then import.
- Compute all the pixel luminosities (just check instructions)
- Construct a histogram of these luminosity counts (you know this)
- Your histogram should have 256 elements, one for each possible luminosity
- Construct a cumulative histogram using your histogram (just check instructions)
- Use the cumulative histogram to adjust the luminosity of each pixel in the pixel array (just check instructions)
- You don’t need to display the visual histograms! That's just for you.
Announcements
- Let's look at images.