Project 3: Imageshop
Due: Monday, 4 November, 11:59 PM
Github Classroom Link: https://classroom.github.com/a/R5xAPke8
A. Introduction [Show]
A. Introduction [Hide]
This project is a 5 milestone project over pgl, with a provided template over several files. Milestones will not map evening to amount of work on this assignment. I regard milestones 0-2, 3, 4a, 4b, and 4c to be roughly equal amounts of work.
Files:
- Update (only) this file:
Imageshop.py
- You will also need:
pgl.pyGrayscaleImage.pybutton.pyfilechooser.py
- You may wish to create:
Equalize.py
Imageshop.py should be runnable as soon as you download the code with a load and flip vertical button. It will create an empty graphics window. The structure of Imageshop.py was covered extensively in the "P5" lecture here.
The easiest way to implement any milestone is to copy the work done to implement "Flip Vertical" - which includes adding a button, a function named "flip_vertical_action" and a function named "flip_vertical" and then make changes to "flip_vertical."
Resources on PGL (Portable Graphics Library):
0. Flip Horizontal [Show]
0. Flip Horizontal [Hide]
Add a "Flip Horizontal" button. It is similar to "Flip Vertical" but differs in that the orders of pixel values (ints) in rows is reverse, instead of the order of the rows.
1. Rotate Left/Right [Show]
1. Rotate Left/Right [Hide]
This task adds two (2) buttons.
Create buttons corresponding to right angle rotations, both to the left (counter-clockwise) or right (clockwise). For an image of size `x` by `y`.
- Create a new array of size `y` by `x`.
- Copy rows from the pixel array into columns of the new array.
- Depending on rotational direction, order rows/columns relative to one another with reversals (via slicing).
Here is an example of a left (counter-clockwise) rotation. The last column corresponds to the first row.
2. Grayscale [Show]
2. Grayscale [Hide]
Be advised that create_grayscale_image is implemented for you in GrayscaleImage.py
Using import, use the code from GrayscaleImage.py to create a Grayscale button.
3. Green Screen [Show]
3. Green Screen [Hide]
This task will use choose_input_file from filechooser.py
Create the Green Screen button.
This button will use two images: a background image, and a foreground image which contains foreground object on a background of green. Here we see two examples:
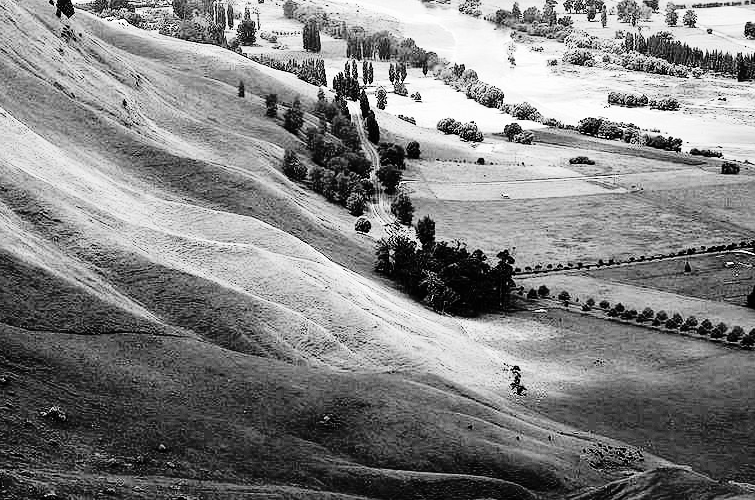
 A sample background image |
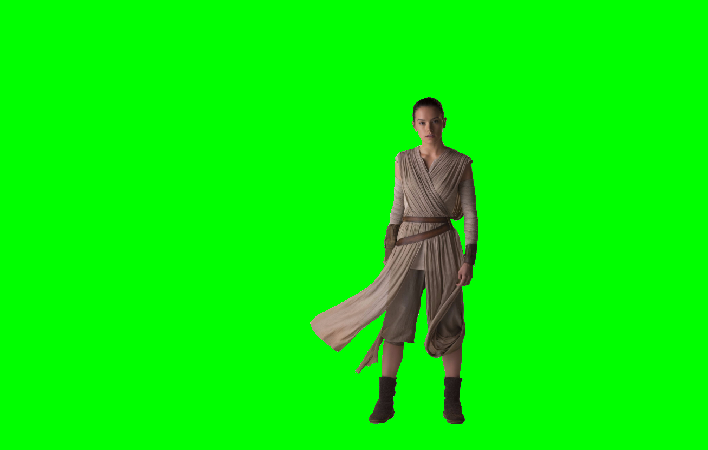 A sample foreground image |
This is the combined image:

Proceed as follows. Initially, there is some background image using Load. Then, upon a click to Green Screen, some function e.g. green_screen_action should:
- Read in the foreground image file, using
choose_input_file.- Make a GImage of the file.
- Create pixel arrays of the back- and foreground images.
- Loop over all the coordinates in background pixel array.
- If the foreground pixel DOES NOT have a green value more than double the highest of the red and blue values, replace the background pixel with this foreground pixel, using "single equals assignment".
- You will likely want to use
GImage.get_green() - You may wish to consult these slides, from "Files", beginning here.
- If there is no corresponding foreground pixel at this location, simply maintain the background array.
- You will likely want to use
- If the foreground pixel DOES NOT have a green value more than double the highest of the red and blue values, replace the background pixel with this foreground pixel, using "single equals assignment".
- Set the current image to be a new
GImagecreated from the updated pixel array with both background and foreground pixels.
4. Equalize [Show]
4. Equalize [Hide]
This task will use luminence from GrayscaleImage.py.
For equalize, I recommend you create a new file Equalize.py to work within, and to import this file into Imageshop.py.
I would start with GrayscaleImage.py and just begin make changes to create equalize.
Initially, you will probably want all of your code from Problem Set 5: Problem 1 in the file as well.
While you may complete this milestone all at once, it has three natural substeps that are roughly equal to the other milestones, so I have recommended completion schedule over three days.
4a and 4b roughly correspond to the notions of "density plots" and "cumulative density plots" for students interested in further reading, and may find better results when searching/asking for help using these terms.
4a. Histogram [Show]
4a. Histogram [Hide]
This creates code that helps with 4b and 4c, but is not required to be used directly.
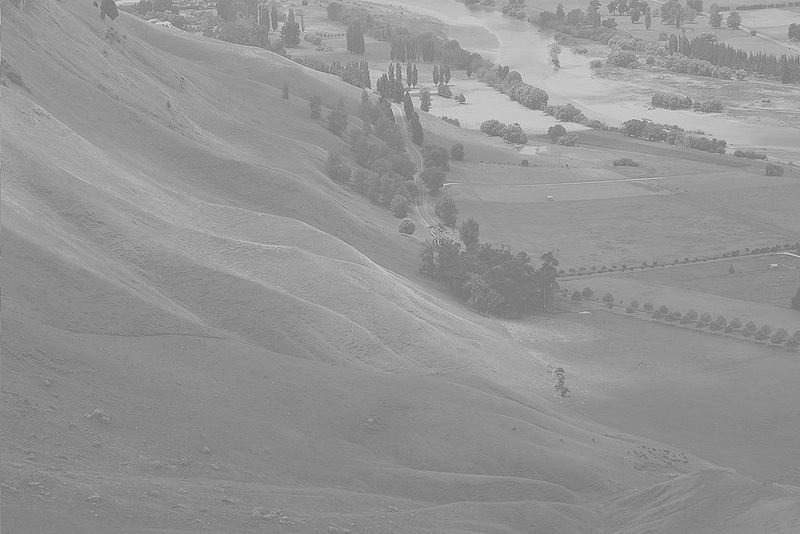
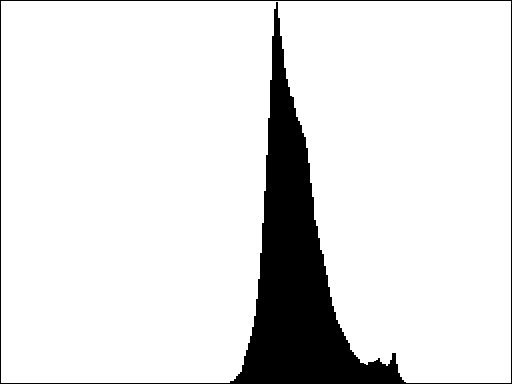
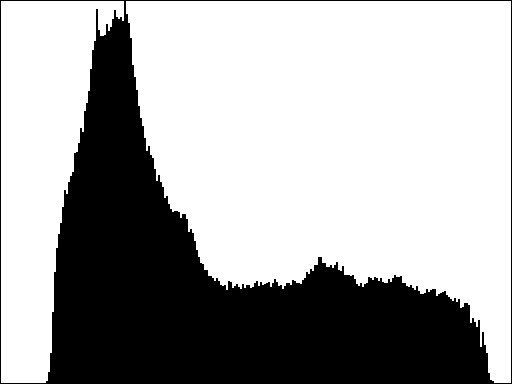
Create an "image histogram".
- Calculate the luminence of every pixel in the image.
- Calculate how many pixels have a certain luminence value, which will be between 0 and 255.
- Display the histogram of this data.
Initially, you will need to apply the luminence function from GrayscaleImage.py to each pixel in an array of pixels - a list of lists of integers.
From there, you Prob1.py code should be suitable, other than that it must not count values of a list of lists, rather than a "single" or "flat" list.
Here are some examples:
|
|

|
|
4b. Accumulation [Show]
4b. Accumulation [Hide]
This creates code required for 4c.
Create an "image histogram" to a "cumulative histogram".
Related to the image histogram is the cumulative histogram, which shows not simply how many pixels have a particular luminance, but rather how many pixels have a particular luminance or lower. Like the image histogram, the cumulative histogram is an array of 256 values: one for each possible value of the luminance.
- Create a new accumulation list of the same length as the existing histogram.
- Store the number of pixels with luminence of less than or equal to
iat indexiin the accumulation list. - Optionally, display the histogram of this data.
Here is an example of how this works over a small list of a few values.
>>> PI_DIGITS
[3, 1, 4, 1, 5, 9, 2, 6, 5, 3, 5, 5, 8, 9, 7, 9]
>>> hist = create_histogram_array(PI_DIGITS)
>>> hist
[0, 2, 1, 2, 1, 4, 1, 1, 1, 3]
>>> accs = create_accumulation_array(hist)
[0, 2, 3, 5, 6, 10, 11, 12, 13, 16]
accs[2] is equal to 3, because that is the sum of the values of all the elements of hist of index less than or equal to two, which in this case are 0, 2, and 1.
This code is covered in your section here.
Here are some examples:

|

|

|

|
Extra Credit
For the interested student, I gave a brief Lightning Talk at the Portland Python Users Group last spring about a good technique to perform this calculation using "assignment operators." The talk is here and the following is relevant sample code. You may use this code with citation to that talk if and only if you include a comment explaining how it works to the satisfaction of your section leader.
>>> hist = [0, 2, 1, 2, 1, 4, 1, 1, 1, 3]
>>> acc = 0
>>> accs = [acc := acc + i for i in hist]
>>> accs
[0, 2, 3, 5, 6, 10, 11, 12, 13, 16]
There is one other "obvious" place to use an assignment operator in Project 3, and if you use it, I will regard it as an extension. Contact me via email or Discord after receiving your feedback from your section leader so I may update my gradebook.
4c. Equalization [Show]
4c. Equalization [Hide]
This finishes Milestone 4.
There is a lengthy description of the mathematics and reasoning of this milestone here.
For this milestone, update every pixel in the image.
- Calculate the luminence of the pixel.
- Determine the value in the accumulation histogram that corresponds to that luminance.
- Divide that value by the number of pixels - this will be
len(array) * len(array[0]). - Multiply that value by 255.
- Set this final value to be the new pixel value.
That is, replace each luminance value (L) in the original image using the formula Here is an example of how to do the first step - change a value based on an accumulation count.
Here is a side by side comparison:
>>> PI_DIGITS
[3, 1, 4, 1, 5, 9, 2, 6, 5, 3, 5, 5, 8, 9, 7, 9]
>>> hist = create_histogram_array(PI_DIGITS)
>>> accs = create_accumulation_array(hist)
>>> eql = [accs[digit] for digit in PI_DIGITS] # value -> accumulation count
>>> eql
[5, 2, 6, 2, 10, 16, 3, 11, 10, 5, 10, 10, 13, 16, 12, 16]
accs[2] is equal to 3, because that is the sum of the values of all the elements of hist of index less than or equal to two, which in this case are 0, 2, and 1.

