print("hello world")hello worldprint("hello world")hello worldhello.py
# hello.py

print("hello world")hello world*To work with .qmd files, Python needs a package akin to R “languageserver”
py -m pip install jupyter matplotlib plotlyhello.qmdhello.qmd on this cell:import numpy as np
import matplotlib.pyplot as plt
r = np.arange(0, 2, 0.01)
theta = 2 * np.pi * r
fig, ax = plt.subplots(
subplot_kw = {'projection': 'polar'}
)
ax.plot(theta, r)
ax.set_rticks([0.5, 1, 1.5, 2])
ax.grid(True)
plt.show()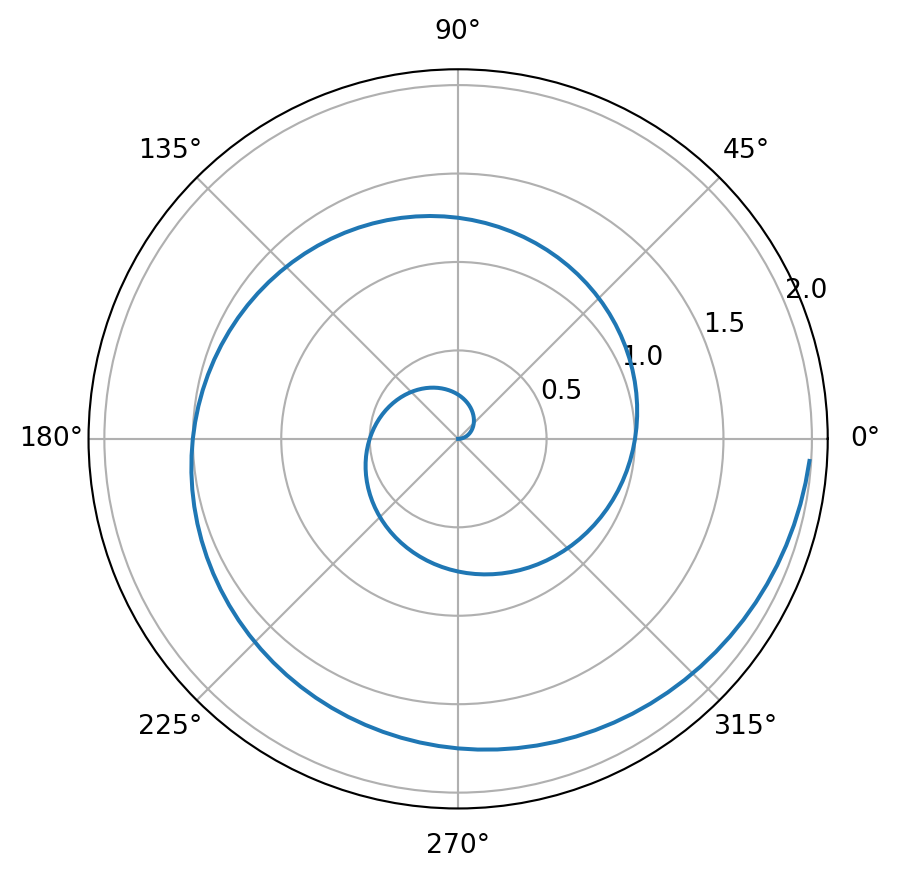
ipykernelhello.qmd in VS Code.hello.qmd either by pressing [>] or by using ctrl+shift+k.To make this document.
---
title: "Python, VS Code, Quarto"
format:
  html:
    code-fold: true
jupyter: python3
---quarto render fname.qmd either: